Check out these useful items
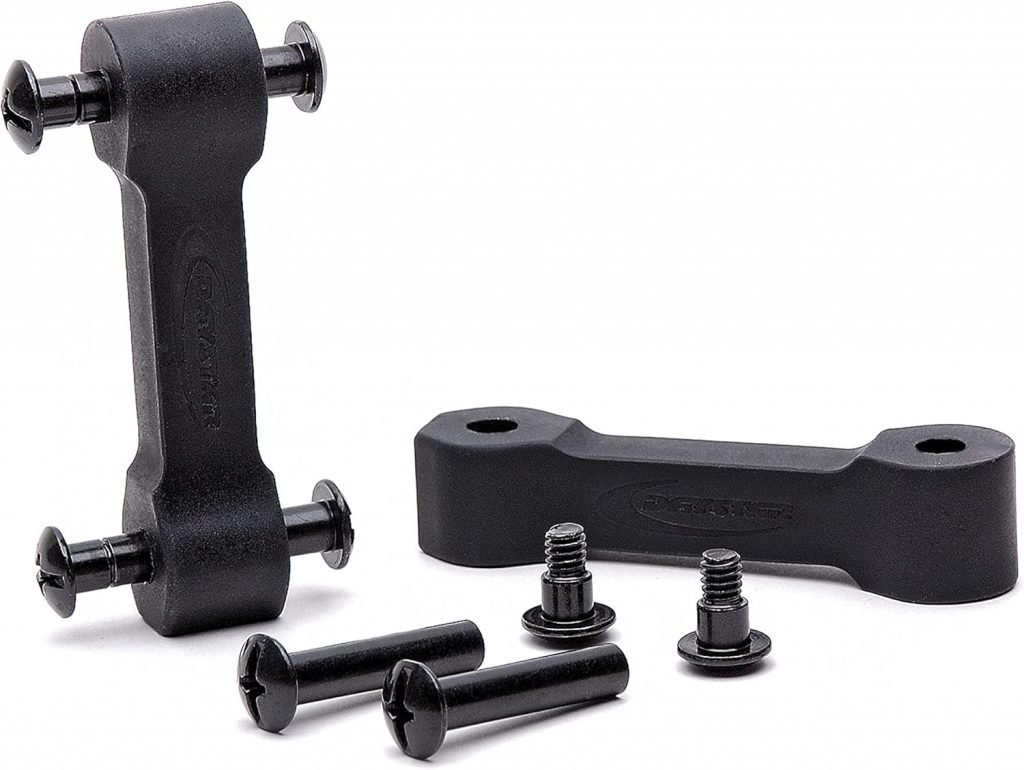
Daystar Hood Latch Upgrade Black Compatible with/Replacement for 2007-2018 Jeep Wrangler JK
Latest Blog Posts
- Jeep JK A/C Blend Door Actuator Replacement
- Jeep JK 3.6L V6 thermostat housing replacement
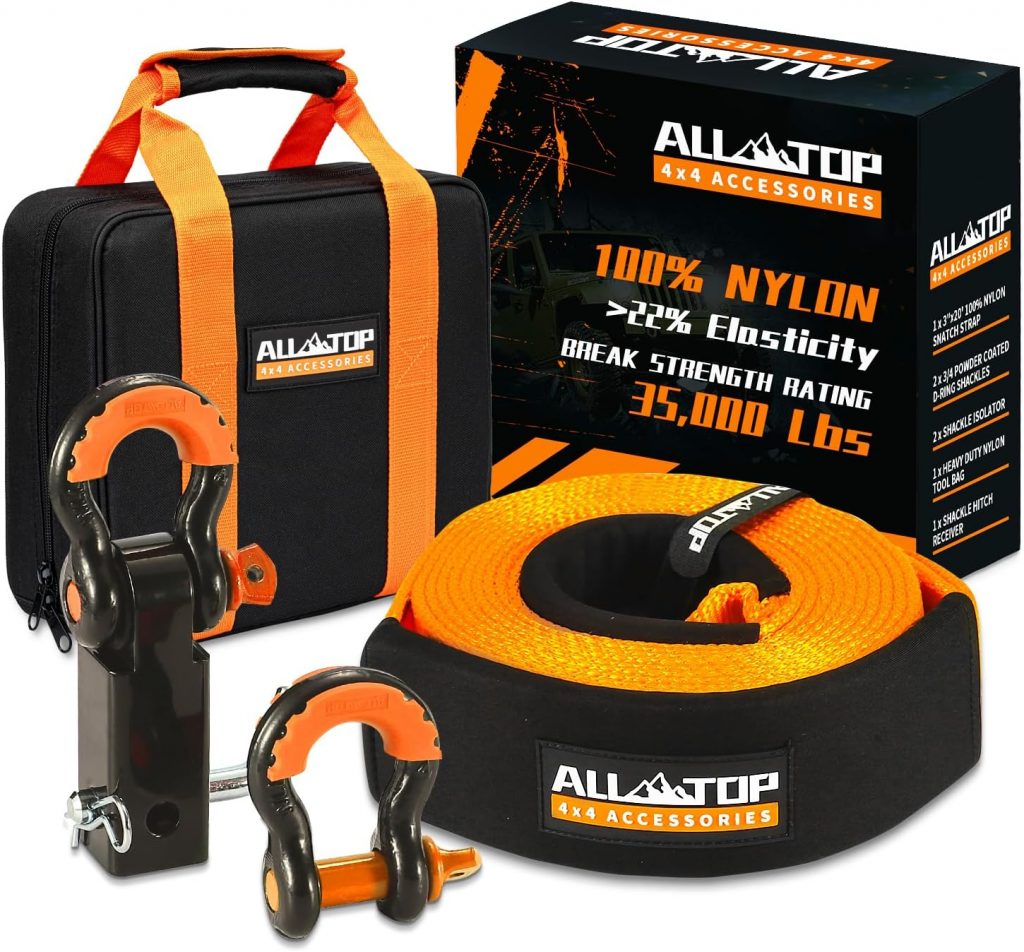
- My Jeep recovery gear
- Jeep JK 3.6L Pentastar Engine Oil Change
- Jeep JK Differential Fluid Change
- Jeep JK multi-function switch replacement
- Jeep Wrangler JK and JL Factory Bolt Sizes
- Jeep JK Jack Base by AEV
- Jeep JK Tailgate Tire Carrier by Rugged Ridge
- Jeep JK Dash A/C Vent Removal
Audiobook Recommendation

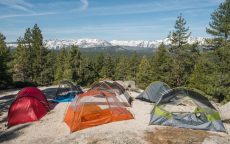 Determining which backpacking tent is the best for your adventures can be a difficult decision that is often influenced by your preferences. Where and when will you camp? How will you camp?
The three big items that affect your backpack weight are your pack itself, sleeping bag and your shelter. Investing in a lightweight tent can be one of the most cost-effective ways to reduce total pack weight.
There are many different types of tents out there, and choosing the right one will ensure a better camping experience. A tent, after all, is quite literally your “home away from home”.
Prices of backpacking tents vary, of course, although most high quality backpacking tents will cost between $100 – $500. Usually the more you spend the better the materials used. Materials that provide more strength and weigh less. There are few one person backpacking tents under $100 but around $200 is what you need to expect for high quality tents.
Choosing your backpacking tent involves the following key decision points:
• Capacity: likely number of sleepers
• Seasonality: tent construction relative to expected weather conditions
• Weight: ounces carried vs. dollars spent
• Livability: comfort and convenience based on design and features
Other considerations include ease of tent setup and tent materials. Also, don’t forget the footprint, often sold separately, that goes under your tent floor to protect it from routine wear or an overlooked rock or pine cone.
Backpacking Tent Capacity
Backpacking tents are categorized by capacity: from 1- to 4-person models. Most tent names include a number for the capacity.
To keep weight low, tents fit snugly. No industry standard defines per-person dimensions, so a 2-person tent size can vary from brand to brand. And ultralight models are likely to be extra snug.
If you’re larger than average, or you simply crave a little more space, consider tents designated one-person larger than your group. Or try plus-size tent designs, which offer extra length and width.
Backpacking Tent Seasonality
Three-season tents are best suited for most climates and conditions; they also tend to have double-wall construction. These tents generally have mesh paneling in the tent body to increase ventilation and keep the tent cool even with the rain fly on. More mesh leads to a lighter tent but may reduce durability. Three-season tents are generally kitted out with convenient features such as gear lofts/pockets, multiple doors, and rain fly vents. These tents can be used by car campers and backpackers alike.
Four-season tents can be used year-round, but are really geared towards winter excursions.These tents are built to withstand low temperatures, high winds, and heavy snow, so if there’s a chance you will be facing this kind of weather, this is the tent for you. Overall, these tents will be heavier than three-season tents, with heavier, more durable fabric, less mesh, and burlier poles. One of the most important differences is that a four-season tent will have a fly that reaches the ground/snowpack to seal out wind and snowdrifts. Four-season tents with an internal pole support are easier to set up in foul weather and offer more rigidity. You can find four-season tents in both single- and double-wall construction.
Backpacking Tent Weight
Your choice of a new backpacking tent gives you a great opportunity to lighten your overall load. Tent designs have advanced so much that models with a per-person weight of less than 3 pounds can be spacious and comfortable.
While it might seem logical that a heavier tent would also be sturdier, ultralight materials and designs can be just as strong, if not stronger. So your best indicator of strength and durability is the tent’s seasonality.
Tent Weight Specs
• Minimum trail weight: This is the weight of the tent body, rainfly and poles only – the bare essentials. You will probably pack more tent-related gear (e.g., stakes, footprint), but this is the best spec for comparison.
• Packaged weight: This is the weight of all the components you get with a purchase: body, rainfly, poles, stakes, stuff sack, pole sack, instructions and more. The weight you’ll carry on the trail will be somewhere between this and the minimum weight.
• Packed size: The amount of space the tent takes up in a pack also relates to how easy a tent is to carry. You can reduce this space by splitting up components – have your partner take the poles and rainfly, for example, while you carry the tent body.
Ultralight tents will weigh upwards of 1 pound per person, though there is no industry standard. Tents designed to be ultralight can be less spacious, less robust or have fewer features, though they can also benefit from more premium materials. Designers try to strike the ideal balance of characteristics. You can also shed ounces while maintaining a comfortable level of livability if you choose an ultralight tent that’s one person larger than your group.
Minimalist shelters:
Classic backpacking tents have a double-wall design that includes a main tent body (also known as the canopy) plus an exterior rainfly. If you’re a hiker who focuses on saving every possible ounce, you have additional options.
• Fly/footprint option: Some double-wall tents have an ultralight setup option, where the footprint (sold separately), poles and rainfly can be pitched together without the main tent canopy.
• Bivy sacks: Short for bivouac sack, this is a waterproof, breathable barrier for your sleeping bag.
• Tarp shelters: This catchall category includes ultralight rainflys that shield you from rain and snow, but not bugs or damp ground.
• Hammocks: The backpacking version includes a tarp-like rainfly, bug netting and an entry point on the bottom.
• Bug shelters: Most bug shelters consist of netting and some poles, but no floor. More elaborate models are tents where the entire canopy is made out of bug netting.
Backpacking Tent Livability
Backpacking tents traditionally used space-efficient designs that had steeply sloped walls, narrow foot spaces and low headroom. This helped keep the weight lower, but the tradeoff was comfort.
Newer tent designs aim to open up interiors without adding unwanted weight. Other key features that affect livability include number and location of doors, protected exterior spaces and ventilation.
Interior volume: To assess tent volume, visit a gear store, ask to set up a tent and hop inside. If shopping online, study the pitch of its walls. If the walls angle steeply toward the tent’s ceiling, you’re probably looking at a weight-efficient tent (great!) that offers only modest interior volume (the tradeoff). The following can also help you size up a tent’s interior space and overall livability:
• Floor dimensions (floor plan): Length and width measurements offer a rough idea of floor size. Many tents don’t have perfectly rectangular floors, so you might see dimensions like 85” x 51”/43” (L x W head/foot). A tapered floor provides needed room for shoulders and arms, while also saving weight by having a narrower foot.
• Floor area: This number indicates total square footage of floor-level space. While helpful for comparison between tents, this number alone won’t tell you how efficiently the space is laid out.
• Peak height: Generally, a greater peak height indicates a roomier interior. Peak height, though, is measured at a single spot inside a tent, so it still can’t tell you how livable a tent is.
• Wall shape: This is an even bigger factor in head and shoulder room – and overall tent livability – than peak height. The more vertical the walls, the more “livable” space can be found inside a tent.
• Rainfly color: Light, bright fly colors transmit more light inside, making the interior brighter. That will make a tent feel more spacious and make it a more pleasant place to be if a storm keeps you tentbound for an extended time.
• Doors: Tent designers focus on door shape, zippers and other adjustments, but the most important question is: How many? It’s nice when every sleeper has a door. Choosing a multiperson tent with a single door, though, cuts weight and cost.
• Vestibules: These rainfly extensions offer sheltered storage for boots and other gear. An oversized floor area would offer the same advantage, but it would also create a heavier tent. Most tents have vestibules and their size is included in the specs. Bigger is better, but cavernous vestibules can add weight and cost.
• Ventilation: You exhale moisture as you sleep, so your tent needs features that prevent condensation buildup. Thus you want mesh windows or panels, along with zip panels to close over them when too much cold air creeps in. Some tents have rainfly vents that can be opened or closed. Rainfly adjustability is essential, both for ventilation and for gazing at stars or witnessing the sunrise.
Tent Construction
Tent Setup: Before heading out to the wilderness, set up your tent at home the first time. A freestanding tent means the tent can stand without the use of stakes, which speeds setup and makes a tent easy to re position – just lift and move it to a new spot. Most tents are freestanding for this reason, though non-freestanding tents can be lighter because the pole structure doesn’t have to be as robust.
Additional tent setup features:
– Pole hubs: The beauty of hubs is that they take the guesswork out of assembly. You take the folded pole sections out of the bag and unfurl the skeleton, seating segments as you go. Smaller cross poles might be separate from the hub, but those are easily identified after the main pole assembly is complete. The other major benefit of hubs is that they increase a tent’s strength and stability.
– Pole clips: Poles connect to tent canopies via clips, sleeves or a combination of the two. Pole sleeves’ fabric tension provides a stronger pitch, but threading poles through them can be a challenge. Pole clips are lighter and easier to attach. They also allow more airflow underneath the rainfly, which reduces condensation.
– Color coding: This helps you quickly orient each pole tip to the correct tent corner and helps you find which sleeves or clips go with which pole sections.
Tent Materials
Backpacking tents use high-strength, low-weight aluminum poles. Over the years aluminum poles have maintained strength while engineers have reduced weight by incrementally shrinking diameter and wall thickness. You often see DAC (Dongah Aluminum Corp.) in specs because this company is the world’s pre-eminent pole maker. You might also see a 6,000-series or a slightly stronger 7,000-series aluminum listed.
Tent fabrics and denier: A wide range of specialized nylons and polyesters are used in tents and, like poles, the technology evolves rapidly. One spec you might see, regardless of fabric, is denier (D), the fabric yarn’s weight (in grams) based on a 9,000-meter length of the yarn. Higher numbers indicate more rugged fabrics, while lower deniers are found in more lightweight – and less durable – fabrics. Don’t compare denier unless fabrics are identical, though, because you won’t be accounting for inherent differences in fabric properties.

52 of the best day hikes in Arizona one for each weekend of the year, organized by seasons. Selected hikes ranging from easy walks in the woods to challenging journeys to Arizona s highest peaks and deepest canyons including the Grand Canyon. In-depth trail guides, descriptions, warnings and GPS coordinates are included with each hike, along with the magazine's classic fine photography.

