Check out these useful items
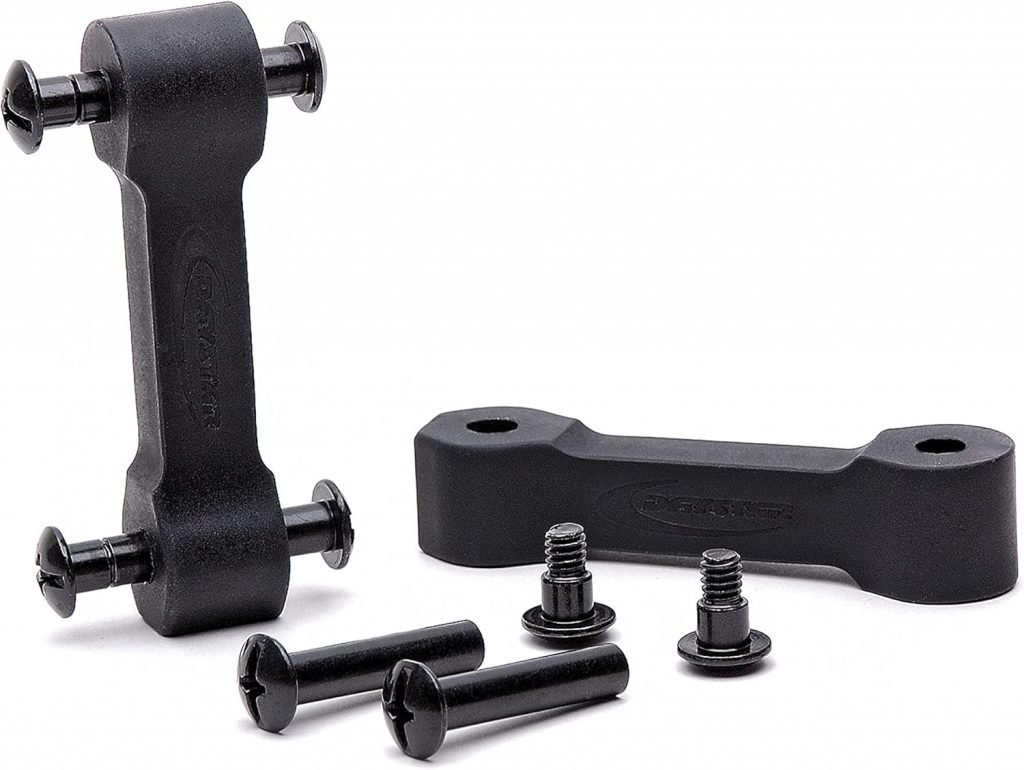
Daystar Hood Latch Upgrade Black Compatible with/Replacement for 2007-2018 Jeep Wrangler JK
Latest Blog Posts
- Jeep JK A/C Blend Door Actuator Replacement
- Jeep JK 3.6L V6 thermostat housing replacement
- My Jeep recovery gear
- Jeep JK 3.6L Pentastar Engine Oil Change
- Jeep JK Differential Fluid Change
- Jeep JK multi-function switch replacement
- Jeep Wrangler JK and JL Factory Bolt Sizes
- Jeep JK Jack Base by AEV
- Jeep JK Tailgate Tire Carrier by Rugged Ridge
- Jeep JK Dash A/C Vent Removal
Audiobook Recommendation

 Many Jeep owners don’t even realize there is such thing as a cabin air filter in their vehicle. After all, when you drive topless and doorless, who needs a filter for the cabin. I count myself as one of those jeepers. The topic of cabin air filter did not even cross my mind for the first year of owning my Jeep. I only thought about it after one extremely dusty Jeep run. Some of you who have done the Backdoor to Crown King trail, Box Canyon in Florence or any trail in Arizona for that matter, might recall that before you get to the fun part of the trail you have to drive down a dirt road for a few miles. With several vehicles in your group that gets crazy dusty.
After coming back from a run like that, I spent a couple of hours vacuuming and cleaning the interior of my Jeep and accidentally turned the air blower volume dial to maximum and the air direction dial to panel, meaning “in your face” position, without realizing it. After cleaning everything I proceeded to start the Jeep and drive away. It was at that exact moment that a huge cloud of dust came out of the vents full speed and covered both me and the entire interior of the Jeep. Two hours well spent! After catching a breath I thought to myself that there shouldn’t be that much dust in the air system. Isn’t there a filter that prevents it? I had to look up where the cabin air filter is located and after a little investigation I discovered that my Jeep did not come with the filters installed. I did some research online and it turns out it is very common to not have the cabin air filters installed from factory in brand new Jeep Wranglers. I guess you learn something every day.
Whether you’re installing a filter for the first time or replacing a dirty one, here’s a step by step instructions for Jeep JK cabin air filter replacement.
Many Jeep owners don’t even realize there is such thing as a cabin air filter in their vehicle. After all, when you drive topless and doorless, who needs a filter for the cabin. I count myself as one of those jeepers. The topic of cabin air filter did not even cross my mind for the first year of owning my Jeep. I only thought about it after one extremely dusty Jeep run. Some of you who have done the Backdoor to Crown King trail, Box Canyon in Florence or any trail in Arizona for that matter, might recall that before you get to the fun part of the trail you have to drive down a dirt road for a few miles. With several vehicles in your group that gets crazy dusty.
After coming back from a run like that, I spent a couple of hours vacuuming and cleaning the interior of my Jeep and accidentally turned the air blower volume dial to maximum and the air direction dial to panel, meaning “in your face” position, without realizing it. After cleaning everything I proceeded to start the Jeep and drive away. It was at that exact moment that a huge cloud of dust came out of the vents full speed and covered both me and the entire interior of the Jeep. Two hours well spent! After catching a breath I thought to myself that there shouldn’t be that much dust in the air system. Isn’t there a filter that prevents it? I had to look up where the cabin air filter is located and after a little investigation I discovered that my Jeep did not come with the filters installed. I did some research online and it turns out it is very common to not have the cabin air filters installed from factory in brand new Jeep Wranglers. I guess you learn something every day.
Whether you’re installing a filter for the first time or replacing a dirty one, here’s a step by step instructions for Jeep JK cabin air filter replacement.
Your cabin air filter is located behind the glove box.

Step 1:
Remove the glove box by gently squeezing the right and left sides inwards. This allows the plastic stays to clear the opening. The glove box will rotate down and out-of-the-way.

Step 2:
Locate the basket with two screen doors. The air filters will be installed in the tray behind the screen doors. You will most likely not see and have access to the tray, because it is hidden behind the air dam.

Step 3:
To access the tray where the filters go, turn your key to the “on” position (do not start the engine) and push the re-circulate air button on the HVAC control panel. This will raise the air dam and provide access to the tray.

Step 4:
Open the left screen door by pulling the door latch down and toward you. I do believe that in newer JK models you might be able to open the right screen door as well. In my 2012 I cannot open it wide enough to fit the filter through.

Step 5:
Remove the old filters. Start with the left half and then move the right one over to the left and pull it out as well.

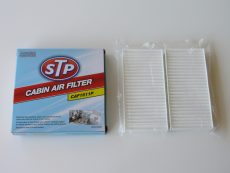
Step 6:
Grab your new filters. Here’s a comparison of the old one and a fresh one. I might have waited too long, the old one was filthy. I used to buy these filters from a Jeep dealer, but apparently they do not carry the two-piece filters any more. They got replaced with a single piece filter. I don’t think I would be able to install a filter that comes in one piece, but if you own a newer model JK you might be able to. Luckily you can still find the two-piece filters in any car parts store. Just pick the brand that you prefer.

Step 7:
The arrow on the filters should point down, toward the direction of air-flow.

Step 8:
Insert both cabin air filters onto the trey behind the screen doors.

Step 9:
Push the first half all the way to the right to make room for the left one. Make sure they are seated correctly and lay flat.

Step 10:
Close the screen doors and make sure the latches snap back in place.

Step 11:
Turn the air re-circulation off to lower the air dam. You can turn the ignition key to the “lock” position, and remove the key. Re-install the glove box. Begin by lining up the bottom hinges and again gently squeeze the right and left sides inwards, allowing the plastic stays to pop into their original position.

You’re all done. Enjoy your new cabin air filters.
If you have any comments or suggestions, feel free to submit them below.